This article may contain references to products or services from one or more of our advertisers or partners. We may receive compensation when you click on links to those products or services. Nonetheless, our opinions are our own.
The information presented in this article is accurate to the best of our knowledge at the time of publication. However, information is subject to change, and no guarantees are made about the continued accuracy or completeness of this content after its publication date.

Updated by Albert Fang
A frequent question I get is how to buy Ripple XRP with money in a safe transaction with as little fees as possible. It has been about two weeks since I’ve blogged about Why I Invested in Ripple XRP. Since then, Ripple has tripled in price. As I am typing this blog post out right now, Ripple XRP is now effectively $0.70. I honestly think that Ripple XRP is still relatively cheap and will hit the $1.00 mark sooner than later, but that will be an another topic for another day. Today’s post will be dedicated to introducing Ripple currency and how to effectively buy the coin as cheaply as possible. So without further or do, here are the two effective ways I use to currently purchase Ripple XRP.
Buying Ripple XRP with a bank account to avoid fees
The most cost-effective, almost fee-free way to purchase Ripple XRP is to have a verified Coinbase account and a BitStamp account. The benefit of using a bank account is that the fees are low. The downside is that you can’t time the market and have to be patient. If you are looking to buy Ripple XRP at this very second, refer to buying ripple with a credit card by scrolling below.
- Once you have these two accounts set-up, verify both your Coinbase and BitStamp account. Verification of an account usually ranges between one to two days depending on how busy the cryptocurrency exchanges are.
- Now, you should be able to link your bank account to your Coinbase. Once you have done so, login to Gdax with your Coinbase login. Gdax is in simplified terms, Coinbase’s own personal exchange.
- Navigate to deposit and toggle the bank account linked to your account and determine how much capital you want to deposit to Gdax fee-free. This transaction alone could take between 3-10 business days to complete from personal experience. The benefit of using your bank account over a credit card is that there is no fees associated with this direct deposit.
- Once your Gdax account have been credited the money, simply convert the USD into Litecoin using the exchange function on Gdax using market or limit pricing (your choice). This action will be done completely fee-free. You have the choice to also use Ethereum instead of Litecoin. The choice is yours. However, for demonstrative purposes we will be using Litecoin in this tutorial.
- You should now have Litecoin sitting in your Gdax.
- Now login to your BitStamp and select deposit via Litecoin. Find the address that populates and copy it.
- Go back to your Gdax and select Litecoin. Navigate to your LTC wallet and select Send Payment. Insert the address that populated from BitStamp. Triple check to make sure the BitStamp address you are pasting in to Gdax is the same and accurate because if there is a mistake, you will NOT get your money back most likely. It won’t be easy. The nature of cryptocurrency is that it is viewed as digital cash. It would be the equivalent of dropping a $100 bill on the floor.
- Once you have tripled check that the address is accurate, press send. The transaction may take 30 minutes to an hour to process to completion. BitStamp takes a 0.25% fee for conversions.
- After the transaction is complete, you should now have Litecoin on your BitStamp account.
- Convert your current Litecoin deposit to XRP currency through the BitStamp trader console
- Congratulations, you now officially own some Ripple currency.
Approximate turnaround: 1-2 weeks
Fees: 0.25% + network fee
Voted "Best Overall Budgeting App" by Forbes and WSJ
Monarch Money helps you budget, track spending, set goals, and plan your financial future—all in one app.
Get 50% OFF your first year with code MONARCHVIP
Buying Ripple XRP with a credit card to buy now
The benefit of buying Ripple with a credit card is that purchases are instantaneous. As long as your credit card is approved, you will be able to own Ripple XRP within a few hours of having a verified account. However, the downside is that in exchange for instant purchasing power, there are more fees associated with credit card purchases.
- You will be needing a verified Coinbase and BitStamp account. Once you have done so, link your credit card to your Coinbase account.
- Purchase Litecoin using your credit card. You have the choice to also use Ethereum instead of Litecoin. The choice is yours. However, for demonstrative purposes we will be using Litecoin in this tutorial. There will be a 4% transaction fee associated with this action from Coinbase. I highly recommend calling your credit card provider before purchasing to give them a heads-up before purchasing or the card provider may suspect fraud.
- Once the transaction is complete, Litecoin should be credited to your Coinbase account within no more than ten minutes.
- Now login to your BitStamp and select deposit via Litecoin. Find the address that populates and copy it.
- Go back to your Gdax and select Litecoin. Navigate to your LTC wallet and select Send Payment. Insert the address that populated from BitStamp. Triple check to make sure the BitStamp address you are pasting in to Gdax is the same and accurate because if there is a mistake, you will NOT get your money back most likely. It won’t be easy. The nature of cryptocurrency is that it is viewed as digital cash.
- Once you have tripled check that the address is accurate, press send. The transaction may take 30 minutes to an hour to process to completion. BitStamp takes a 0.25% fee for conversions.
- After the transaction is complete, you should now have Litecoin in your BitStamp account.
- Convert your current Litecoin deposit to XRP currency through the BitStamp trader console.
- Congratulations, you now officially own some Ripple currency.
Approximate turnaround: A few hours for verified accounts
Fees: 4.25% + network fee
These are the only two ways I currently use to purchase Ripple XRP. If you have a cheaper method that is just as safe and secure, feel free to share as well. From my knowledge in this point of time, these two methods are the most cost-effective ways depending on your needs.

Reviewed and edited by Albert Fang.
See a typo or want to suggest an edit/revision to the content? Use the contact us form to provide feedback.
At FangWallet, we value editorial integrity and open collaboration in curating quality content for readers to enjoy. Much appreciated for the assist.
Did you like our article and find it insightful? We encourage sharing the article link with family and friends to benefit as well - better yet, sharing on social media. Thank you for the support! 🍉
Article Title: How to Buy Ripple Coin (Ripple XRP) Cheaply for Beginners
https://fangwallet.com/2017/12/14/how-to-buy-ripple-coin-ripple-xrp-cheaply-for-beginners/The FangWallet Promise
FangWallet is an editorially independent resource - founded on breaking down challenging financial concepts for anyone to understand since 2014. While we adhere to editorial integrity, note that this post may contain references to products from our partners.
The FangWallet promise is always to have your best interest in mind and be transparent and honest about the financial picture.
Become an Insider
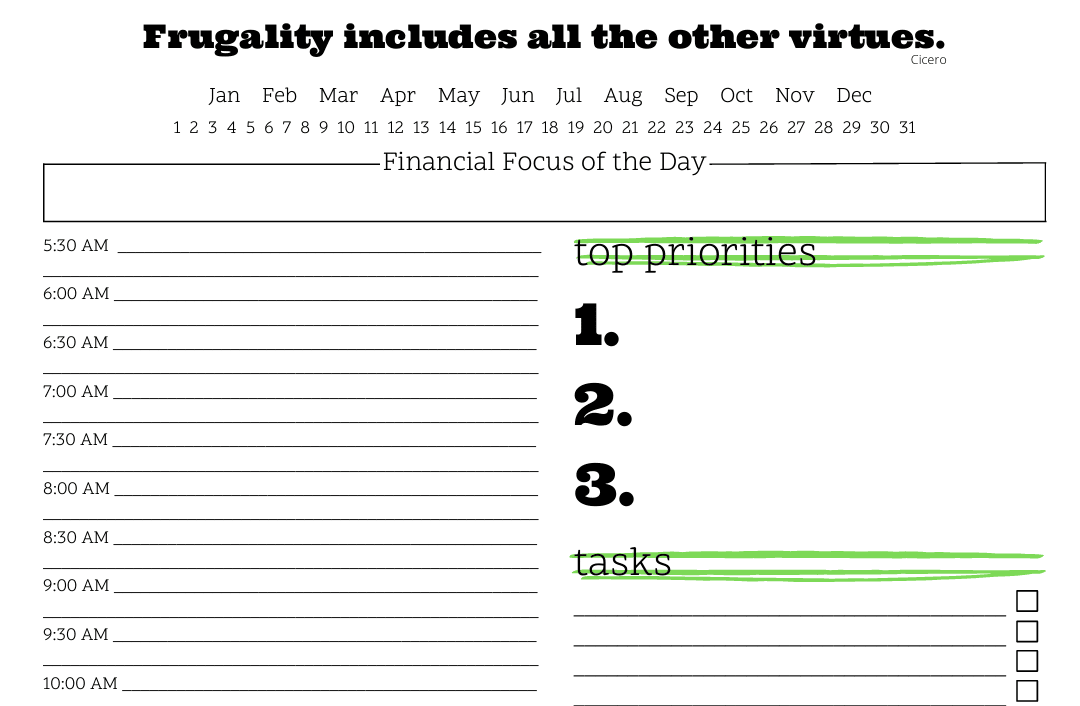
Subscribe to get a free daily budget planner printable to help get your money on track!
Make passive money the right way. No spam.
Editorial Disclaimer: The editorial content on this page is not provided by any of the companies mentioned. The opinions expressed here are the author's alone.
The content of this website is for informational purposes only and does not represent investment advice, or an offer or solicitation to buy or sell any security, investment, or product. Investors are encouraged to do their own due diligence, and, if necessary, consult professional advising before making any investment decisions. Investing involves a high degree of risk, and financial losses may occur including the potential loss of principal.
Source Citation References:
+ Inspo
